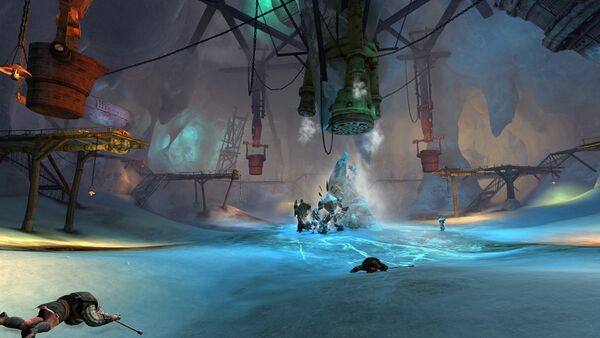
Underground Facility
Introduction
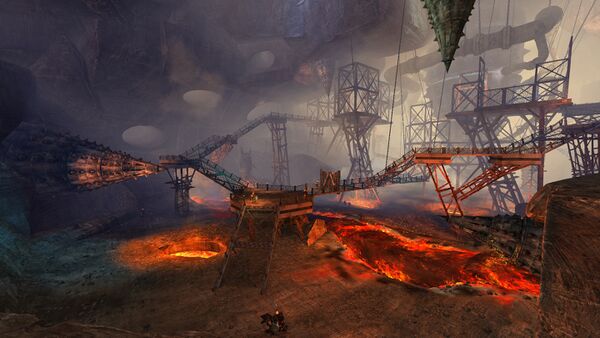
You begin at the mouth of a large cavern filled with dredge. You must fight your way past them while opening several locked gates on the way. Group ![]() Stealth may be useful in bypassing the first groups of enemies.
Stealth may be useful in bypassing the first groups of enemies.
Make your way up the first ramp to the platform. A second ramp leads off to the left with a pressure plate at the end that will open the gate in front of you. There are dredge at the top, but a single player can make it up and back safely if they are careful. A sufficiently long-range teleport can be used to reach the pressure plate from below. Quickly head through once the gate opens and take the Mistlock Singularity. The ramp to the immediate right leads to another pressure plate, and the gate ahead is guarded by another two dredge. As before, you can send a single player up to the pressure plate and it can be reached by teleporting from the walkway below. Activating this pressure plate will permanently open the first gate, so the group may want to /gg to have more players available if any have died.
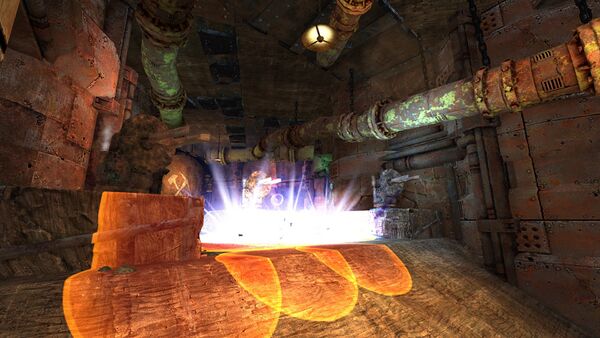
Within this final gated room are two more pressure plates that must be stood on simultaneously to open the doors on a control panel. A third player will then need to activate the control panel to begin a long (~20 seconds) interaction to open the last gate. This is complicated by a number of dredge in the room that will all respawn, and any damage taken by the player on the control panel will cancel the interaction and force them to start again. Further, the doors to the control panel will close and cancel the interaction if either of the players steps off the pressure plates. The gate to the room will open with two players on the pressure plates, so it is possible to get the whole group into the room to help with this part.
This section is very volatile and can be particularly frustrating as the respawning dredge may aggro on the player on the control panel. The following tips may be of use:
- The respawn timer on the dredge is longer than needed to interact with the control panel, so if the dredge are grouped up and killed at the same time, the group should be able to open the last gate in safety if they activate the control panel immediately.
- Any dredge that do respawn should be engaged immediately, and ideally chain-CC’d to prevent them from attacking the player on the control panel.
 Aegis (or other passive blocks) will prevent the interruption from players leaving the pressure plates, so it might be useful for the player activating the console to give themselves one of these boons, then have the players step off the plates.
- If players will be standing on the plates for the whole duration, it may be worth making sure they are the tankier players, as dying counts as stepping off the plate.
- Projectile defense and
 Aegis can be useful to spam on the player interacting with the control panel to protect them from any dredge that do respawn.
 - Long duration
 Stealth, such as from or , can be used to safely interact with the control panel.
 - With
 Swiftness and dodge-jumping into the closed gate, it is possible to interact with the control panel without opening the doors.
 - If you place a portal on the inside of the gate, it is possible to use it to get inside the door and interact with the control panel after the doors close again.
Recommended Sigils: and
Recommended Enhancement:
Condition builds should use their standard sigils and enhancements.
Recommended Utility: Reflects
| Notable Instabilities | |
|---|---|
| The extra boon duration means that the party’s boon supports can run more offensive gear/traits. | |
| These instabilities aren't particularly bad on their own, but all cause extra attacks that can hit the player interacting with the control panel during the first section, or punish players standing on buttons for not moving. | |
Head out of the room and up the ramp, taking the Mistlock Singularity as you pass and defeat the group of dredge ahead of you. Try to take out the Veteran Dredge Mining Suit first as it can summon additional dredge. Alternatively, you could stack ![]() Stealth at the mistlock and run past them. There are two possible paths ahead, selected at random.
Stealth at the mistlock and run past them. There are two possible paths ahead, selected at random.
Note that this guide is predominantly for the tier-four version of the fractal, so some mechanics will be much less dangerous at other tiers. An effort has been made to indicate where entirely new mechanics are added at higher tiers, but it is not exhaustive.
Mining-Lasers
Past a few more dredge you’ll find the path defended by some dredge turrets that fire a moving barrage of shots that deal 20% of your maximum health if you are hit by the AoE. Each AoE hits a second time after a short interval, but you can avoid damage by creeping forward as the lines of AoEs progress. Past the turrets is a Reinforced Door that your team will need to cut through with Mining-Lasers found at the start of the room. Getting hit by the turret’s attacks will cause your Mining-Laser to overheat and explode if you attempt to use it, requiring you to go and get a new one. Note that you are unable to dodge whilst holding a Mining-Laser.
Once you make it past the turrets, targeting the door and using the laser will channel an attack that deals ~9% damage to the door, and then the laser overheats. You can use a portal to get back to the Mining-Laser Rack, but taking a portal or using a teleport skill whilst holding a laser will cause it to overheat. When the Reinforced Door passes 25% health intervals, a small group of dredge will spawn.
Bombs
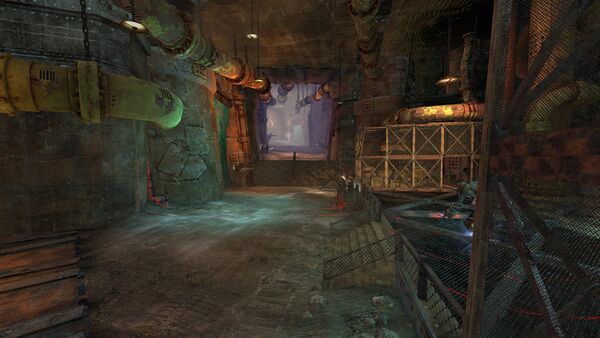
A line of dredge will attempt to stop you here but they don't pose much threat. Once past them, you will find the corridor ahead is guarded by Interloper Security Countermeasures that will attack and ![]() Stun any player that attempts to cross the AoE in front of them. There are also patrolling Dredge Security Contractors. To progress, you will need to deposit nine bombs into the tube near the door while remaining undetected.
Stun any player that attempts to cross the AoE in front of them. There are also patrolling Dredge Security Contractors. To progress, you will need to deposit nine bombs into the tube near the door while remaining undetected.
Near the start of the corridor, there is a pipe that regularly deposits three bombs at a time. Shortly after this, some neutral Veteran Dredge Excavators will move to the bombs to pick them up. Make sure you get to the bombs first and move on – there is little point fighting the dredge as the bombs disappear automatically after a few seconds. Just past the bomb pipe is a Cloud of Concealing Dust that will ![]() Stealth you for 15 seconds. You can run in and out of the pipe to stack up
Stealth you for 15 seconds. You can run in and out of the pipe to stack up ![]() Stealth, but you can only have five “stacks” of
Stealth, but you can only have five “stacks” of ![]() Stealth at any time, and a single application should be enough to reach the end. Also be aware that the bombs themselves will explode after 20 seconds, requiring you to go back and get a new one.
Stealth at any time, and a single application should be enough to reach the end. Also be aware that the bombs themselves will explode after 20 seconds, requiring you to go back and get a new one.
While ![]() Stealthed, you can walk straight past the Interloper Security Countermeasures, but you should be wary of the Dredge Security Contractors as stepping into the AoE that surrounds them will reveal you and remove your bomb, and when visible the attack from the Countermeasures will also destroy your bomb. Therefore, you should make your way up the corridor, avoiding the Contractors, and deposit your bomb into the pipe near the door. There is another Cloud of Concealing Dust nearby that will let you get back to the start safely. You can also use portals to get back and forth without losing any bombs.
Stealthed, you can walk straight past the Interloper Security Countermeasures, but you should be wary of the Dredge Security Contractors as stepping into the AoE that surrounds them will reveal you and remove your bomb, and when visible the attack from the Countermeasures will also destroy your bomb. Therefore, you should make your way up the corridor, avoiding the Contractors, and deposit your bomb into the pipe near the door. There is another Cloud of Concealing Dust nearby that will let you get back to the start safely. You can also use portals to get back and forth without losing any bombs.
As you deposit bombs, enemy dredge will spawn nearby and more Contractors will be deployed as well, making subsequent runs trickier. After depositing all nine bombs, you will be able to activate a nearby Conspicuous Detonator to destroy the door. The Dredge Contractors will despawn once this happens, but the other dredge will remain in place. Your ![]() Stealth will also be removed at this point, so it may be worth waiting until everyone is at the door so you can fight them together (it is also possible to quickly re-apply
Stealth will also be removed at this point, so it may be worth waiting until everyone is at the door so you can fight them together (it is also possible to quickly re-apply ![]() Stealth after it is removed). If you run around the corner in the newly-opened room you can block their line-of-sight, forcing them to cluster up for easier cleaving.
Stealth after it is removed). If you run around the corner in the newly-opened room you can block their line-of-sight, forcing them to cluster up for easier cleaving.
Champion Rabsovich
Recommended Sigils: and
Recommended Enhancement:
Condition builds should use their standard sigils and enhancements.
Recommended Utility: Reflects
Both paths join up past their respective doors, and a dredge tank will appear and deliver Champion Rabsovich.
Champion Rabsovich will regularly summon additional dredge to fight beside him, but his only dangerous attack is a Shock Wave indicated by a long rectangular orange AoE. The main irritation here is that he can begin blocking attacks, which will ![]() Daze anyone that hits him. The block can be canceled by players with
Daze anyone that hits him. The block can be canceled by players with ![]() Unblockable CC (assuming his defiance bar is available), but otherwise you will just have to wait it out.
Unblockable CC (assuming his defiance bar is available), but otherwise you will just have to wait it out.
Once Rabsovich has been killed, the tank will surge forward and destroy itself as well as the closed door ahead. The boss of the fractal is also randomly selected from two options. Past a Mistlock Singularity, the corridor ahead will be filled with enemies that match the final boss (dredge or ice elementals). They do not need to be killed, but there are a lot of them and the checkpoint is near the mistlock, so if anyone dies while running past they will have to try it again on their own. Therefore it may be easier to use ![]() Stealth or have a single player with a lot of movement abilities run forward on their own and drop a portal for the rest of the group. Enemies will follow you for quite a long way if aggroed, so the group will need to head up on the walkways that surround the arena and keep running until you're clear.
Stealth or have a single player with a lot of movement abilities run forward on their own and drop a portal for the rest of the group. Enemies will follow you for quite a long way if aggroed, so the group will need to head up on the walkways that surround the arena and keep running until you're clear.
Legendary Dredge Power Suit or Rampaging Ice Elemental
Recommended Sigils: or and
Recommended Enhancement: or
Condition builds should use their standard sigils.
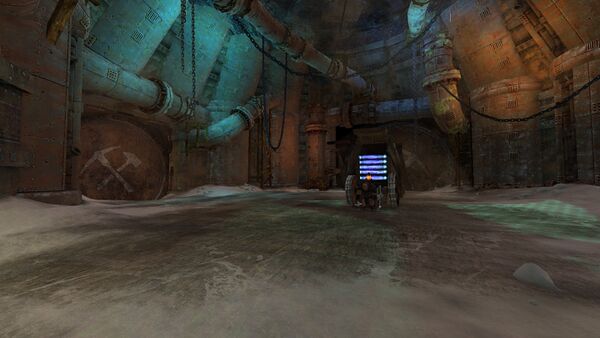
As you enter the boss arena, you will see one of the two possible bosses finishing the other one off. While there are some differences in attacks, the structure of the fight will be basically identical.
If a player gets close enough to the boss, it will aggro on a random player who gains a purple fixation icon above their head. The fixation lasts for 60 seconds, after which the boss will fixate on another random player. While fixated, the boss will follow that player and direct its attacks in their direction. The boss has a large amount of health that will make it very time-consuming to defeat. Instead, the fixated player will want to lead the boss underneath one of the four buckets found around the edge of the room (look for the scorched area on the floor to get an idea of the correct spot). Another player will then want to activate a lever next to each bucket on the walkway above (depending on the positioning of the boss the fixated person can pull the lever themselves). This causes the bucket to tip over, pouring the molten contents on anything below. If this hits the boss, they will gain the ![]() Superheated debuff that causes them to take 10 times the damage for 30 seconds. Combined with the
Superheated debuff that causes them to take 10 times the damage for 30 seconds. Combined with the ![]() Exposed from breaking the defiance bar, this allows a huge amount of damage to be dealt to the boss.
Exposed from breaking the defiance bar, this allows a huge amount of damage to be dealt to the boss.
If the boss isn't killed by the time ![]() Superheated expires, the group should move the boss to another bucket or wait where they are for the previous bucket to reset (it has a cooldown of 60 seconds). Both bosses will periodically hunker down and start recovering health. Regular attacks will interrupt this while the boss is
Superheated expires, the group should move the boss to another bucket or wait where they are for the previous bucket to reset (it has a cooldown of 60 seconds). Both bosses will periodically hunker down and start recovering health. Regular attacks will interrupt this while the boss is ![]() Superheated, but otherwise the defiance bar will need to be broken. In the case of the Rampaging Ice Elemental, most hard CC effects other than
Superheated, but otherwise the defiance bar will need to be broken. In the case of the Rampaging Ice Elemental, most hard CC effects other than ![]() Daze and
Daze and ![]() Stun will interrupt the healing regardless of the status of the defiance bar.
Stun will interrupt the healing regardless of the status of the defiance bar.
Some further differences between the bosses are noted below.
Dredge Power Suit
Aside from a Shock Wave and basic melee Slash that causes ![]() Bleeding, the Power Suit has the following attacks:
Bleeding, the Power Suit has the following attacks:
- Bombs – The Power Suit fires out a set of bombs that spread around the arena and explode a few seconds later, dealing heavy damage to anyone within the AoE. The attack that spawns these mines can be blocked with projectile defense, but they are quite easy to avoid.
- Smash – The Power Suit gains
 Stability, glows red and pounds its fists into the ground in front of it, dealing moderate damage and applying
  Agony to players with each strike.
Rampaging Ice Elemental
The Ice Elemental is generally reckoned to be the more dangerous of the two bosses as its attacks are harder to avoid, and it summons additional ice elementals throughout the fight. Its attacks all apply ![]() Chill and are
Chill and are ![]() Unblockable.
Unblockable.
- Freeze Row – Ice spreads out in front of the Ice Elemental in a V-shape. A few seconds later, players standing in the ice will take a small amount of damage and be
 Launched away. The actual AoE for this is larger than the visual effect, so keep your distance.
- Ice Spike – The Ice Elemental summons a spike of ice above each player’s head that slams down after a few seconds,
 Launching players away, dealing moderate damage and applying
  Agony. While
  Superheated, this attack applies
  Weakness.
- Polar Smash – The Ice Elemental glows red and slams its fist down in the ground, creating a patch of frozen ground that pulses
 Agony and a small amount of damage. While
  Superheated, this attack applies
  Weakness.
Comments
Enjoy an ad-free experience & support the website, for less than $1 per month! Upgrade to Premium
