Daily Super Adventure Box W1Z1
Start
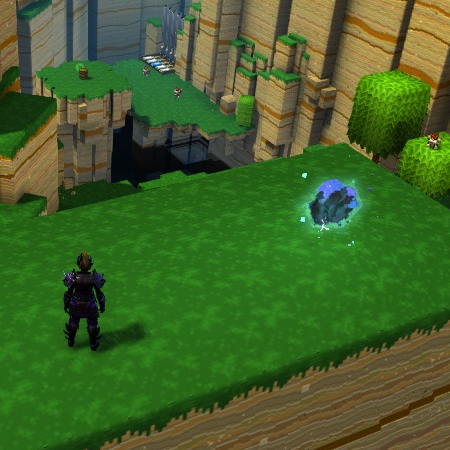
Immediately from the start, head right into the lake and pick up the key lying on a rock. Do not open the chest right next to it as it only contains a single Bauble.
Continue through the level and activate the first checkpoint.
Checkpoint 1
Move forward into the next area and up the big hill.
The first shop is on the left just before the hill.
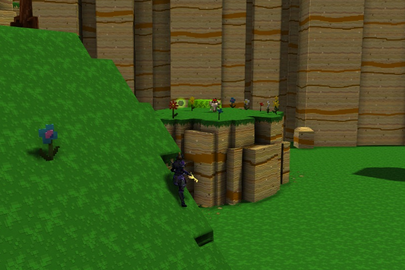
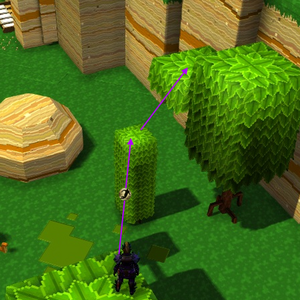
Stand on this spot and throw a ![]() Boomerang at the green bauble for +5.
Boomerang at the green bauble for +5.
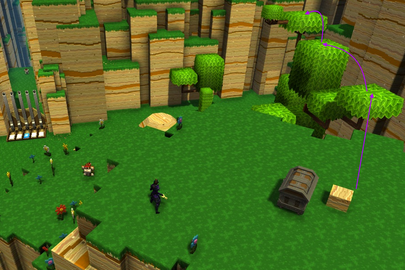
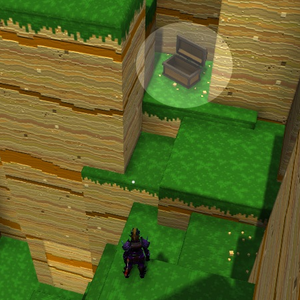
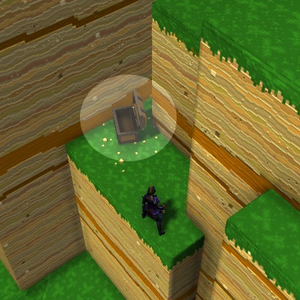
Continue up the hill, jump across the gap, and climb up to the second chest. Open it for 20 baubles.
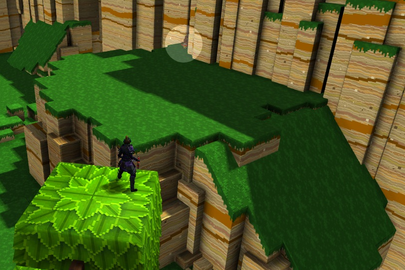
From here, jump across to the tree. There are two dig spots accessible from here. If you are able to dodge-jump, you can collect them both quickly. Otherwise you'll need to loop back and climb the hill a second time.
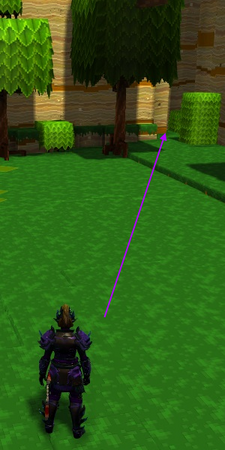
Jump up to the higher platform and then to the right.
If you are unable to make the jump, it is still worth returning for the dig. But this time you can jump from the higher tree section down to the left, which is much easier.
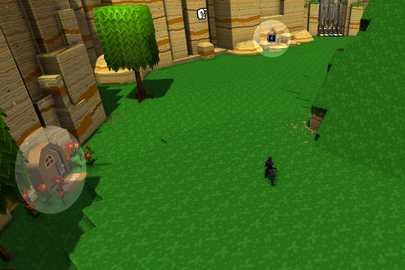
To the left of the next checkpoint is a section of loose rocks you can bomb, to open a room that contains 20 baubles. A shop can be found just to the left of this. You can now continue to the checkpoint.
Checkpoint 2 & Checkpoint 3
Traverse the ravine and activate the third checkpoint.
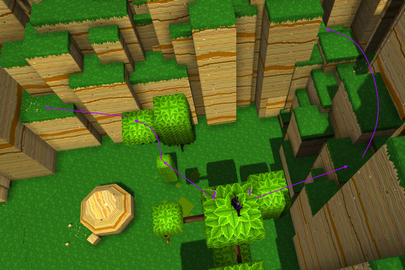
As you pass through the next area you'll see some beedogs collect baubles from flowers and fly away. If you follow them, they'll lead you through a gap in the wall and then through a maze.
To get through the maze without waiting for them: after coming through the gap, go to the end and turn right, follow the path until you find a green +5 bauble on your left. Collect it, turn right, and head forward again. Follow this path to the end. There are multiple optional objectives to complete here.
At the far end is the honeycomb you must destroy for Environmental Science. Destroy the barrel nearby to get a power-up that doubles your damage (also used for the Study Aids daily), making it easier to deal with the queen beedog.
Halfway between the entrance and the honeycomb is an Ooze garden. If it is the daily, you can dig one up, beat it until its stunned, then carry it to the end (it is recommended you have a decent amount of health as the Ooze will drain some).
Next to the entrance is a red glitch crystal. Hit it and quickly climb up the series of planks that appear to end up on top of the wall. Backtrack slightly along the wall to reach the glitch.
Now drop down to the left.
Head for the next checkpoint. In one of the barrels in front of the checkpoint is an Invincibility power-up for the Study Aids daily.
Checkpoint 4
After activating the checkpoint, jump forward and head to the hill on the right to find the Ooze Farmer. If you're not doing Ooze Transportation 101, you can destroy the barrel after the checkpoint for a speed boost (also required for the Study Aids daily) and jump forward instead, collecting 3 baubles along the way. There's not much left to do now but climb the mountain in the middle to reach the boss.
If going for the Study Aids daily, the Invisibility power-up is in a barrel just past the mountain.
If you still need Interior Design 101, just before the final checkpoint there is a mushroom you can attack to create a bouncepad below. Do so and drop down to find the last shop, then bounce back up and activate the checkpoint. You will also find the damage boost power-up next to the checkpoint for the Study Aids daily.
Checkpoint 5
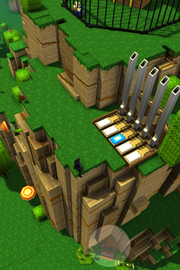
Destroy the cage and we're done!
Comments
Enjoy an ad-free experience & support the website, for less than $1 per month! Upgrade to Premium
