Difference between revisions of "Daily Super Adventure Box Introduction"
| Line 45: | Line 45: | ||
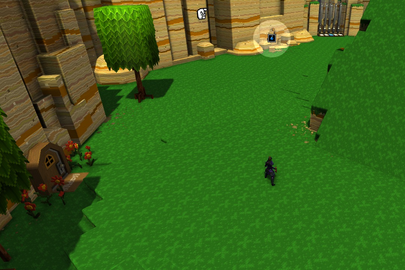
To the left of the next checkpoint is a section of loose rocks you can bomb, to open a room that contains 20 baubles. | To the left of the next checkpoint is a section of loose rocks you can bomb, to open a room that contains 20 baubles. | ||
| − | [[file:W1Z1 Shop 1.png|Shop and bombable wall|405px|class=img-fluid]] | + | [[file:W1Z1 Shop 1 basic.png|Shop and bombable wall|405px|class=img-fluid]] |
After this, exit the level and repeat. Excluding loading screens, this farm gets you ~0.6 baubles/second. | After this, exit the level and repeat. Excluding loading screens, this farm gets you ~0.6 baubles/second. | ||
Revision as of 02:22, 15 April 2024
Introduction
The Super Adventure Box festival has one of the more generous weekly traders, however obtaining these rewards requires a large number of bauble bubbles.
The most efficient methods of obtaining baubles are farming tribulation mode, or simply rushing each zone for the final chest. Unfortunately the first method requires a lot of skill and knowledge, while the second will not get you enough baubles each week to buy everything.
Instead, the guides presented for each world will show routes and locations to collect efficient baubles while completing normal mode runs, whilst also allowing for the completion of dailies. Done each day, a full run will easily provide enough baubles to buy all the items from the weekly trader.
How the routes were chosen
The shortest (non-speedrun) route through the level was timed, along with detours from said route. Detours that net a higher bauble/second return than the basic bauble farm (see below) are included. The routes also ensure they pass through the areas necessary to complete relevant dailies.
The following assumptions have been made:
- The reader already knows the basic routes through a level - this allows the guides to stay at a manageable length, and excellent comprehensive routes are already available on the wiki.
- The reader at least has at least obtained the Digger skill, as well as skills essential for completing levels (such as the Glove of Wisdom).
- The detour is completed on the first attempt. An effort has been made to indicate detours that have more challenging elements, but ultimately the reader must assess whether a detour is worthwhile based on their own skill.
A basic farm
The simplest repeatable farm is available in W1Z1 as part of the normal route. It is the most efficient repeatable farm outside of tribulation mode, and any included detour in the guide has to be more efficient than this. This is identical to the start of the W1Z1 guide, but it repeated here for convenience:
Immediately from the start, head right into the lake and pick up the key lying on a rock. Do not open the chest right next to it as it only contains a single Bauble.
Continue through the level and activate the first checkpoint.
Checkpoint 1
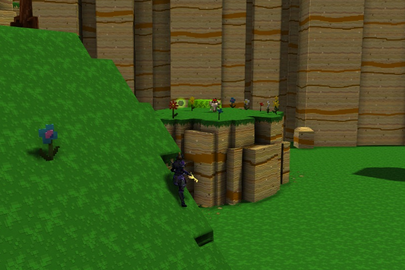
Move forward into the next area and up the big hill.
Stand on this spot and throw a ![]() Boomerang at the green bauble for +5. You can also jump down to this bauble after opening the chest.
Boomerang at the green bauble for +5. You can also jump down to this bauble after opening the chest.
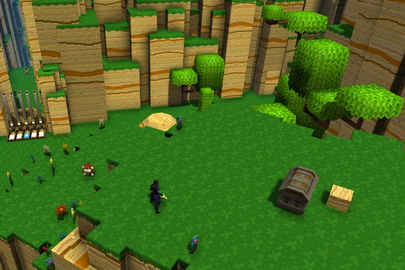
Continue up the hill, jump across the gap, and climb up to the second chest. Open it for 20 baubles.
To the left of the next checkpoint is a section of loose rocks you can bomb, to open a room that contains 20 baubles.
After this, exit the level and repeat. Excluding loading screens, this farm gets you ~0.6 baubles/second.
Comments
Enjoy an ad-free experience & support the website, for less than $1 per month! Upgrade to Premium


