Death's Abyss - Dungeon Guide
Overview
Death's Abyss (Lv.50) is the first of the 50 Lv. dungeons in Paola's Dimensional Circle.
The Arkeum Legion sent one expedition after another into Syleus's Abyss, desperate to harness the dark power residing within. None were prepared to face the countless monsters roaming the passageways, nor navigate the labyrinth. Every expedition failed. Upon discovering Heliber, the Legion seized on the idea of using him to gain control over the Abyss. They eventually managed to capture him, imprisoning him in a stone casket. Yet even stone could not hold Heliber forever, and when he broke free of his prison, he was even stronger than before. The sole Arkeum Shadowmancer to survive the encounter called upon the specter Karnix for help.
Are you ready for your first Lv.50 dungeon? With this guide, you will be!
Party Finding
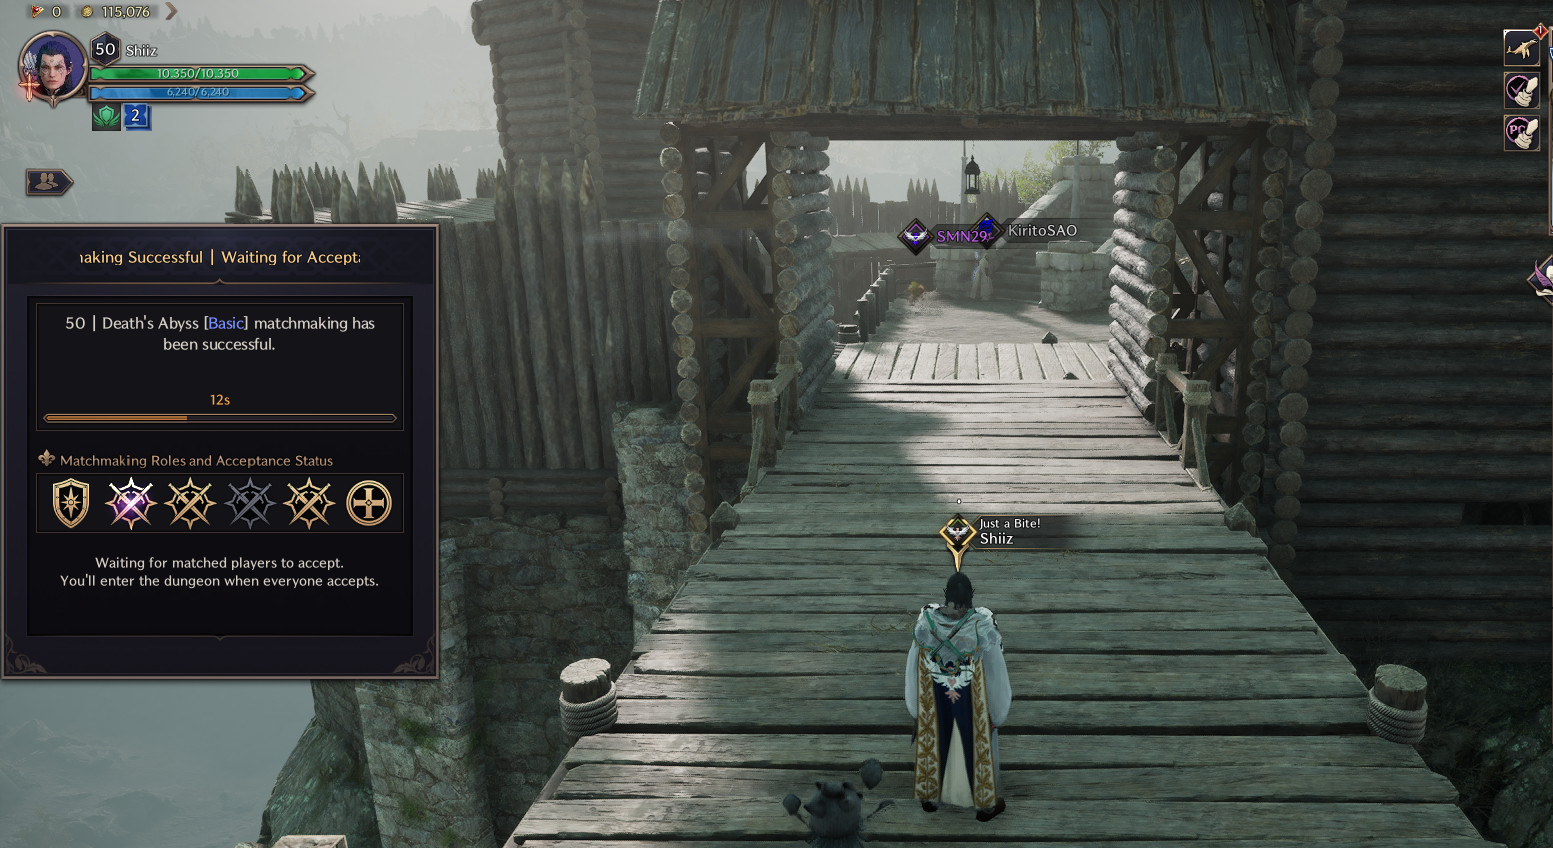
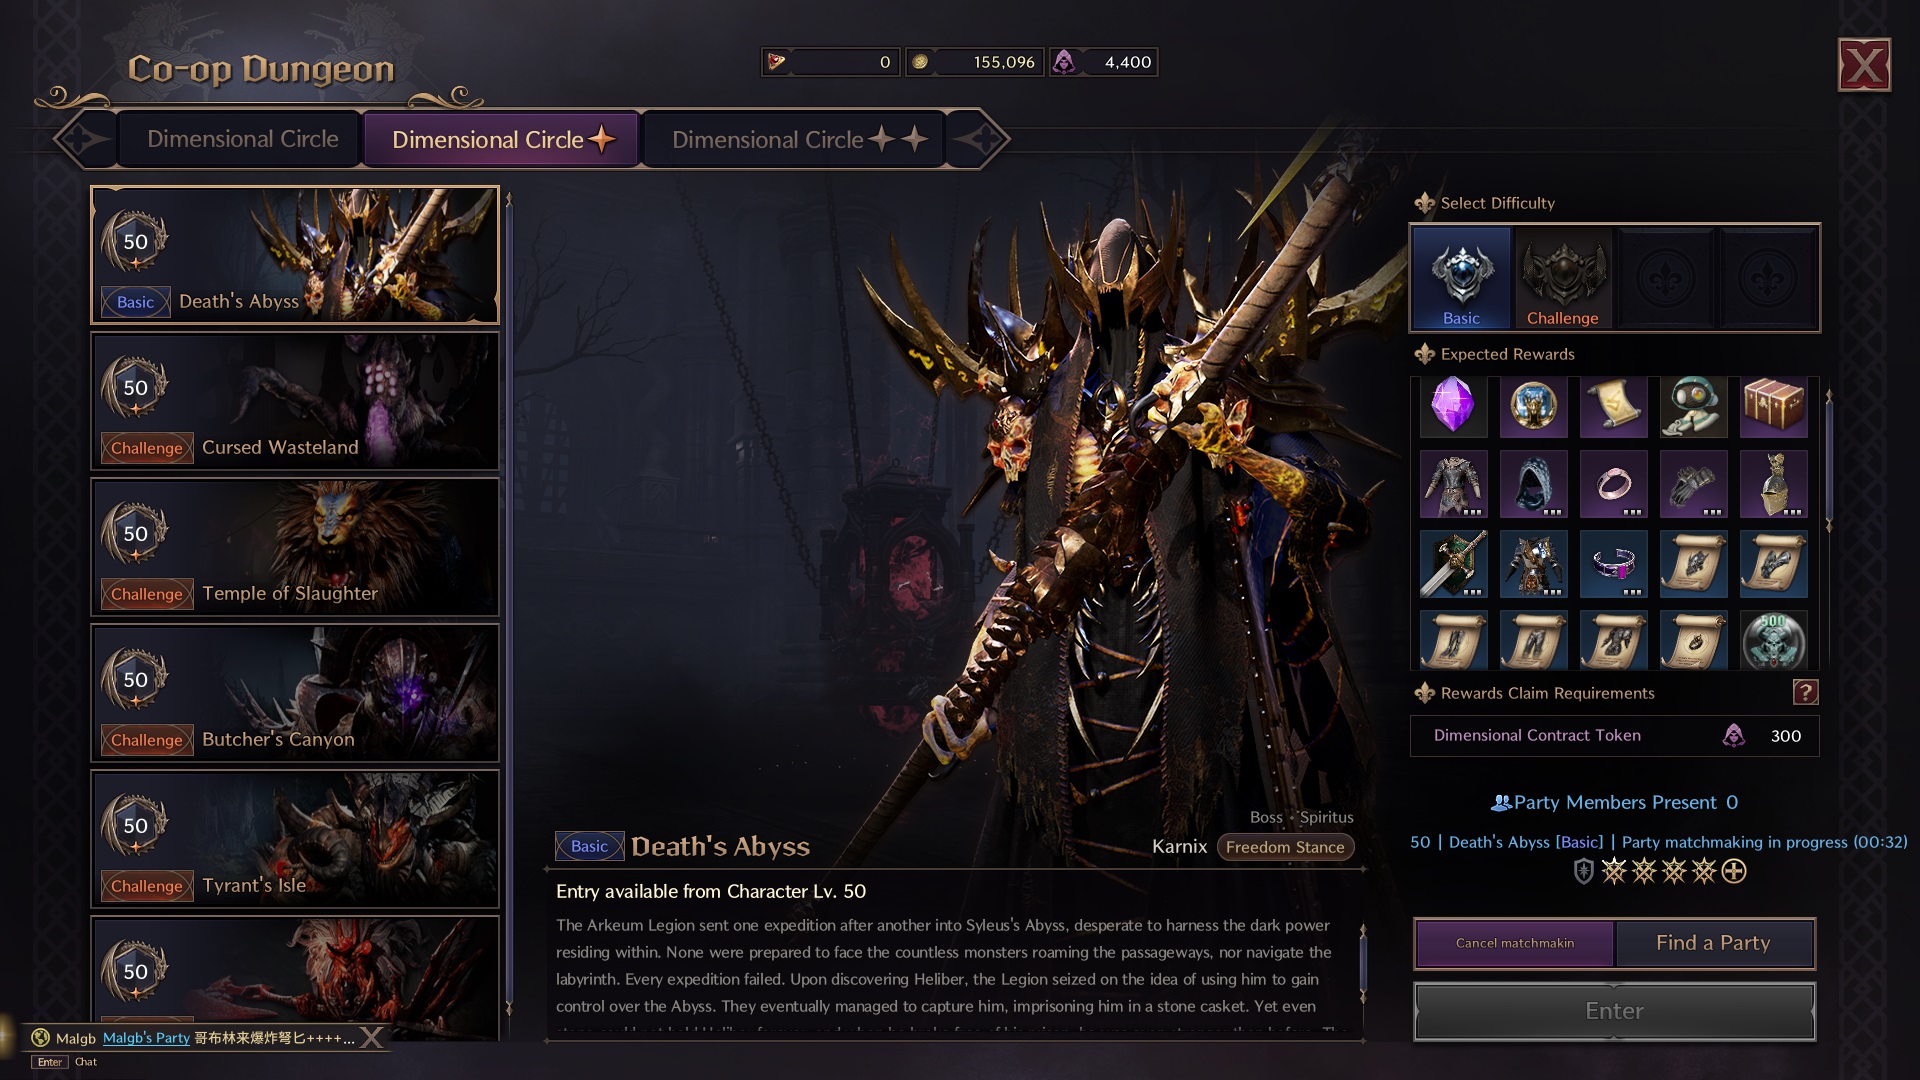
Lets start with basics, which is finding yourself a 6-man group. To do that, there are few ways. You can either make a party and link your party in World Chat, or you could use a better, more efficient feature, which is automated Party Finder. To do that, click Esc, then find "Find a Party". From that step click "Request Matchmaking" and choose the dungeon you want. Below that, select your role. Depending on what class you play, you can choose between offensive, defensive and a healer. Each party should consist of 4 Damage dealers, 1 tank and 1 healer. After choosing everything, you should get a notification at the bottom of the window telling you how many people are queueing up and which roles did they choose. Once you find 6 players, you should get a window like this, where you have to accept your entry:
You can also choose more traditional way, which is linking your party in the World Chat.. After gathering 6 people, go to: Esc -> Co-op Dungeon -> Dimensional Circle 1* -> Death's Abyss. Notice that you can also choose the difficulty of the dungeon, either Basic or Challenge
First room and second room
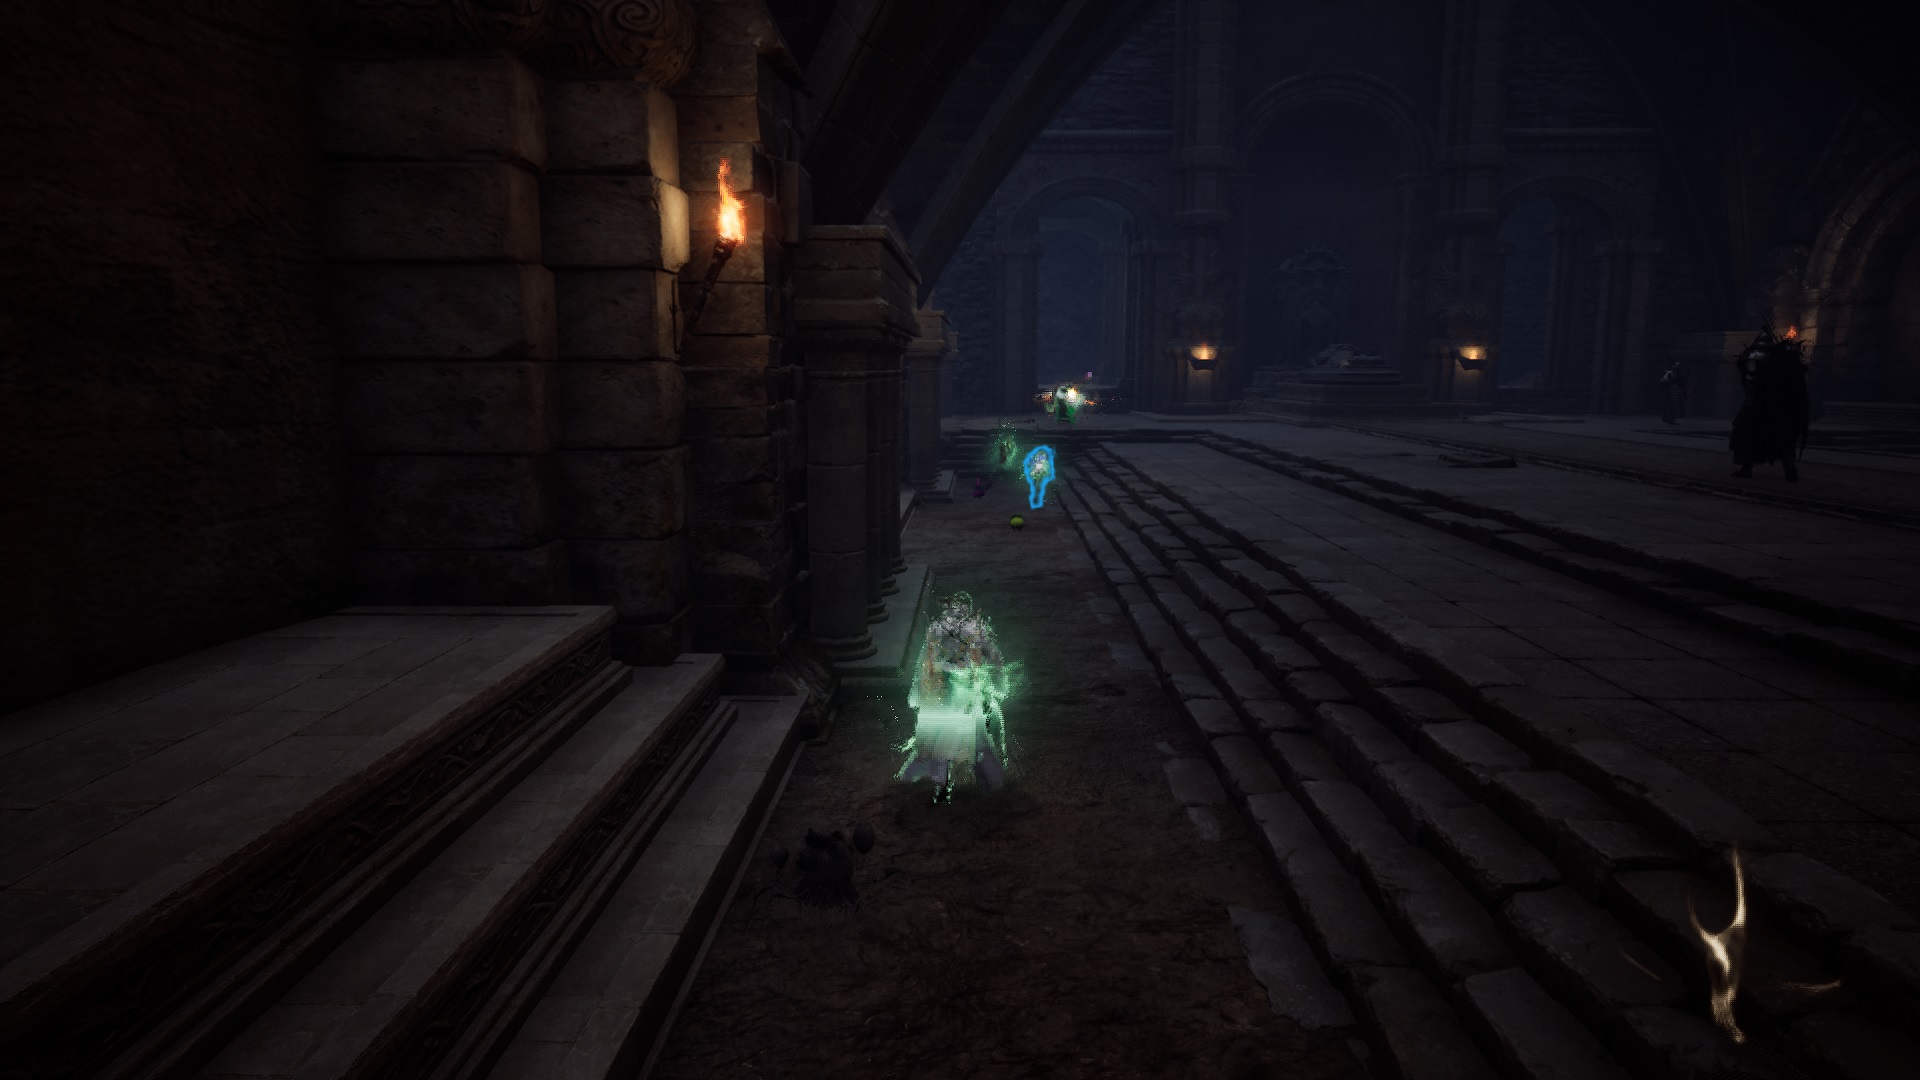
Once you get to the first and second rooms, make sure to stick to one wall (in most cases its left wall) in order to NOT pull many monsters. You can avoid hitting monsters and just kill those that you have to.
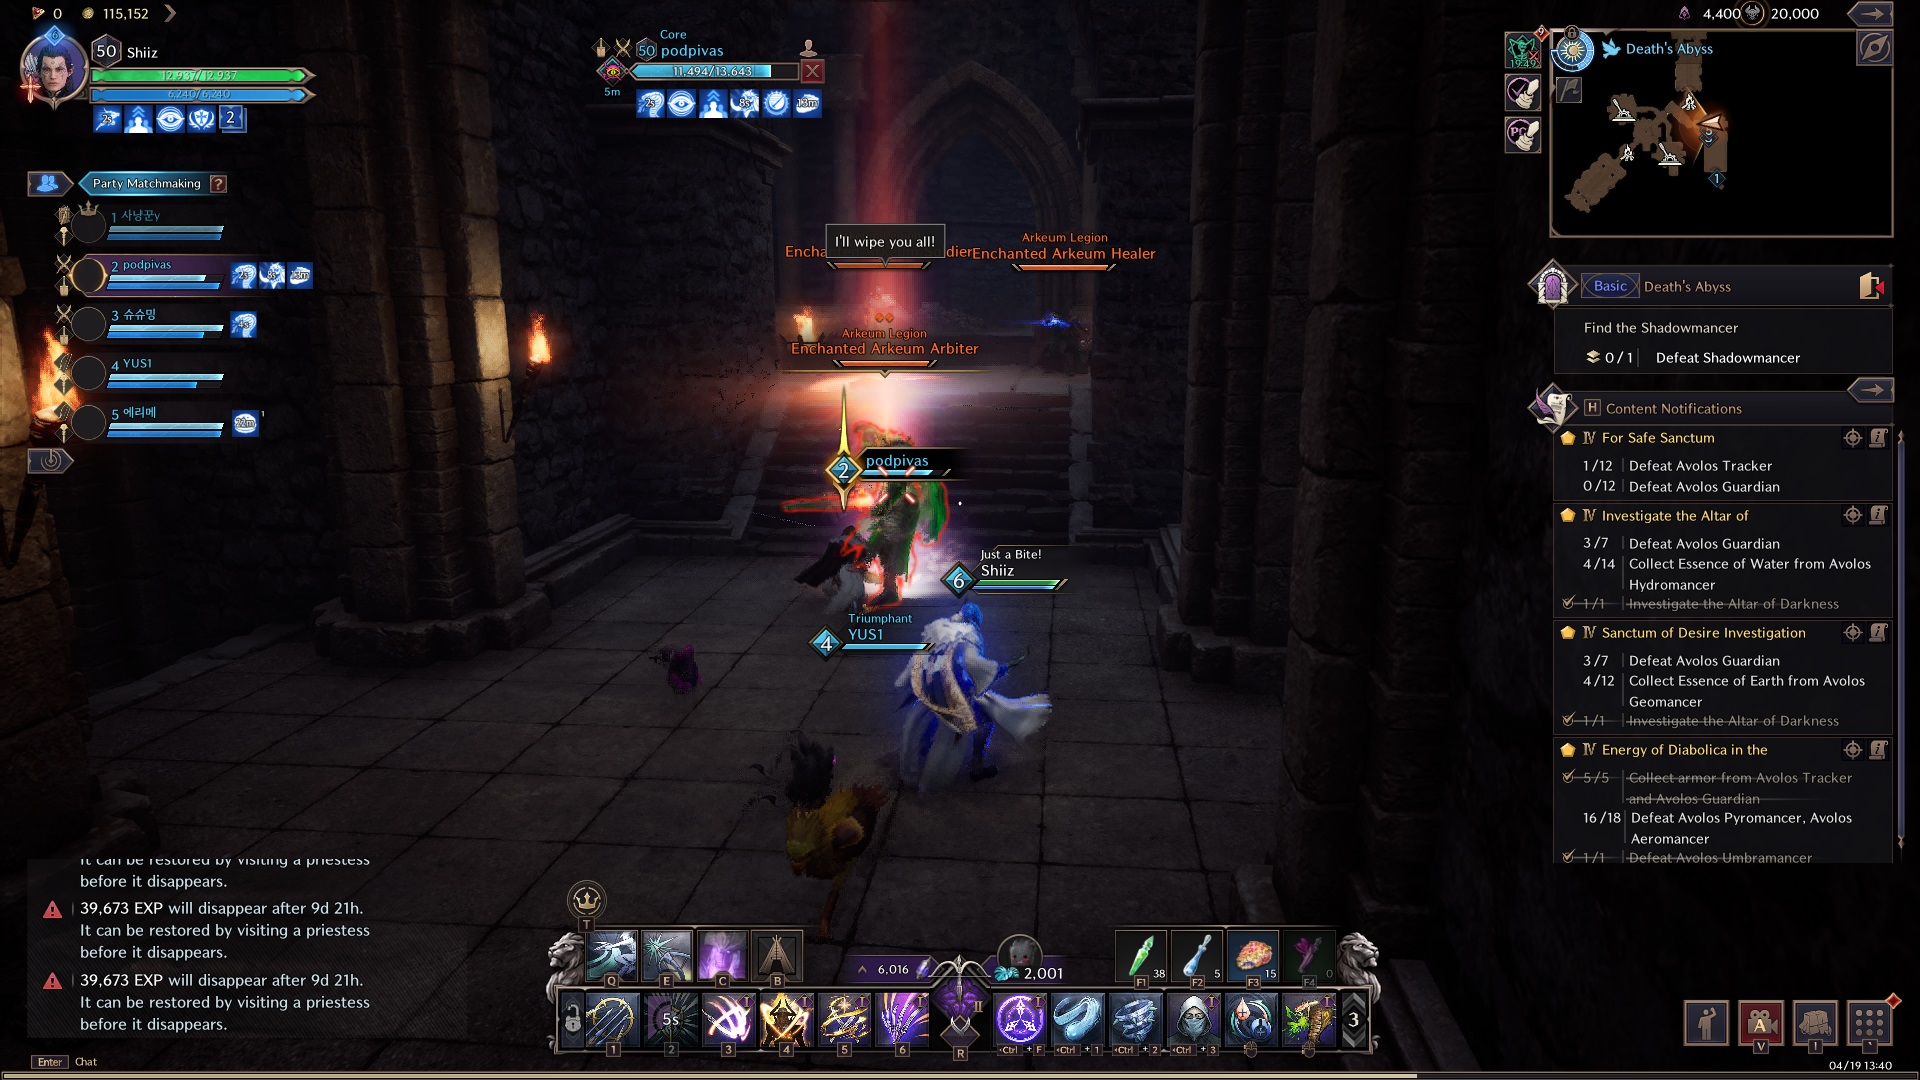
On your way, be ware of ARBITERS. If he doesn't get CC'd while using his skill, he will wipe entire team. When Arbiter says: "I'll wipe you all!" this is the time for your Tank to use any form of CC on him. It should look like this:
The list of CC's that also work on Arbiters:
| Sword and Shield | Greatsword | Crossbow | Staff | Dagger |
|---|---|---|---|---|
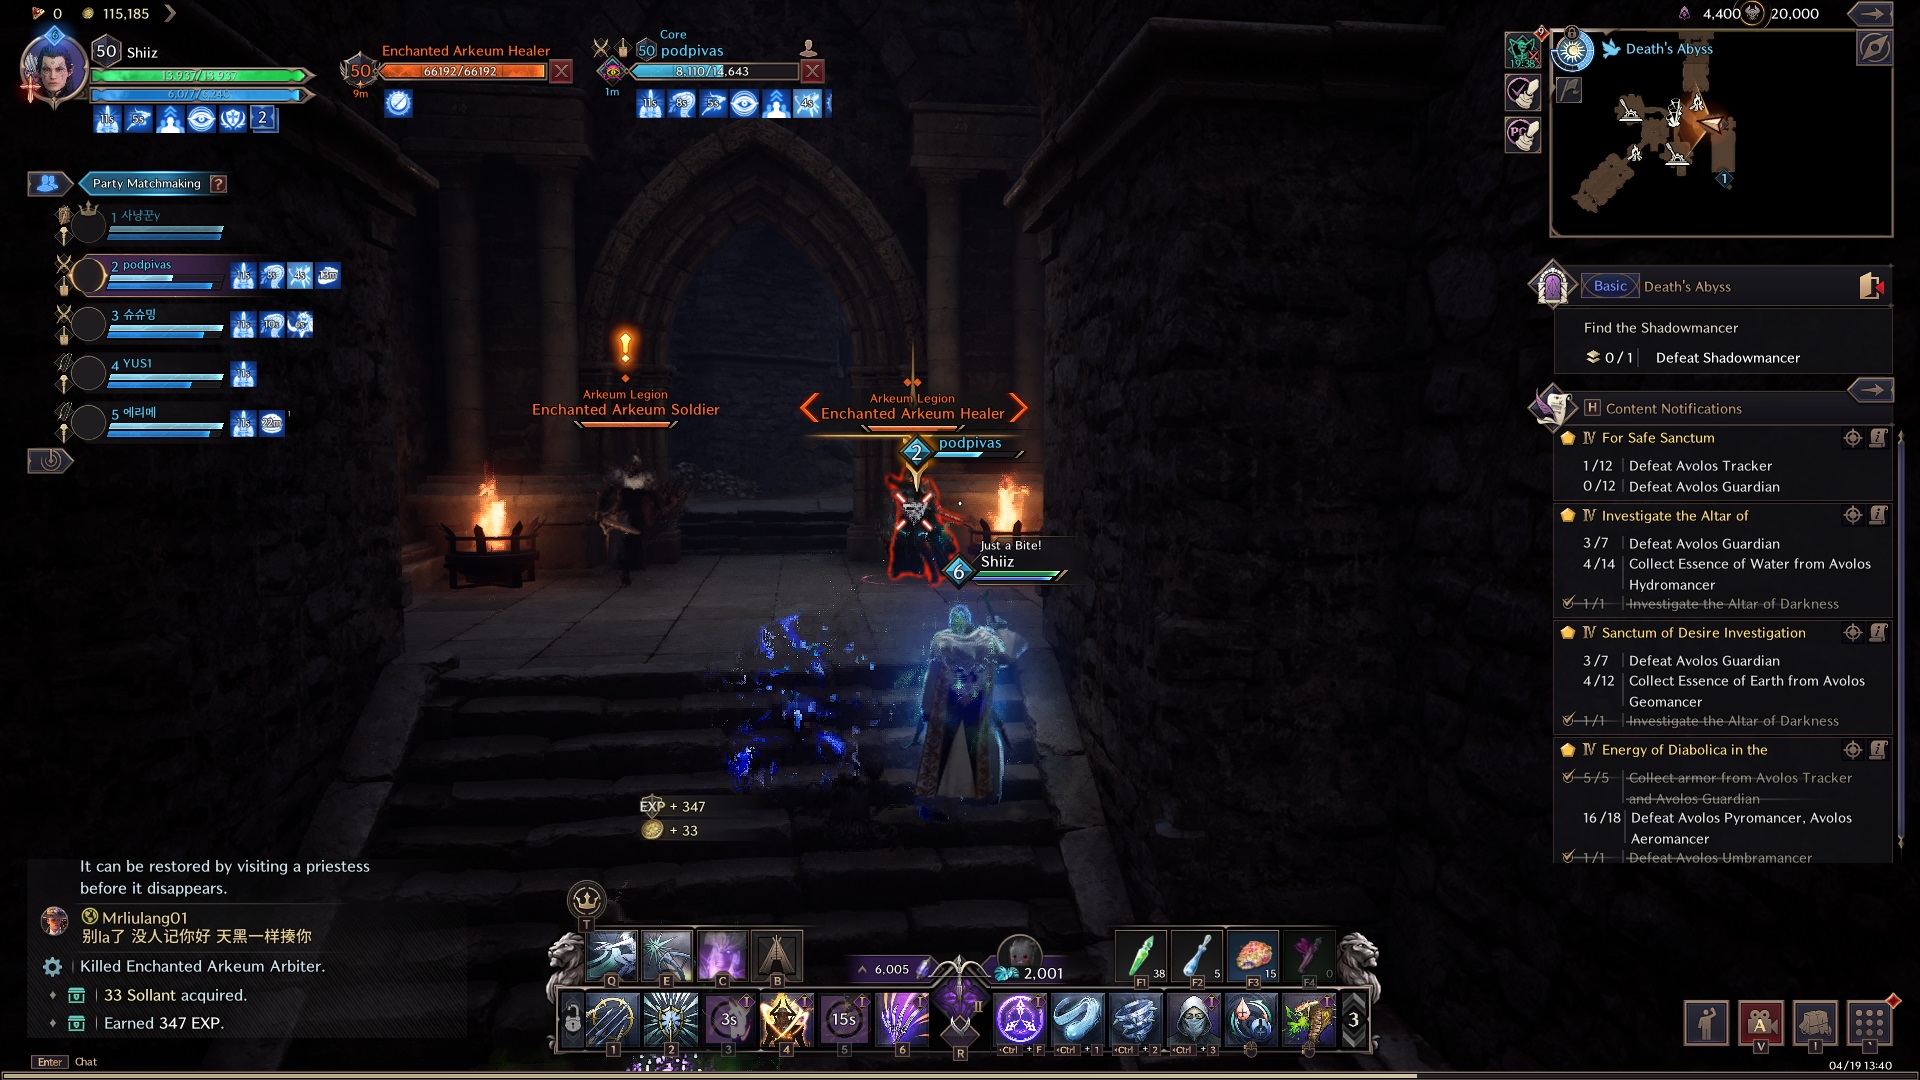
After killing Arbiters, focus the healer on the right.
The same situation appears with another Wizard + Healer in the next room. Make sure to kill the healer first so the fight doesn't take much longer.
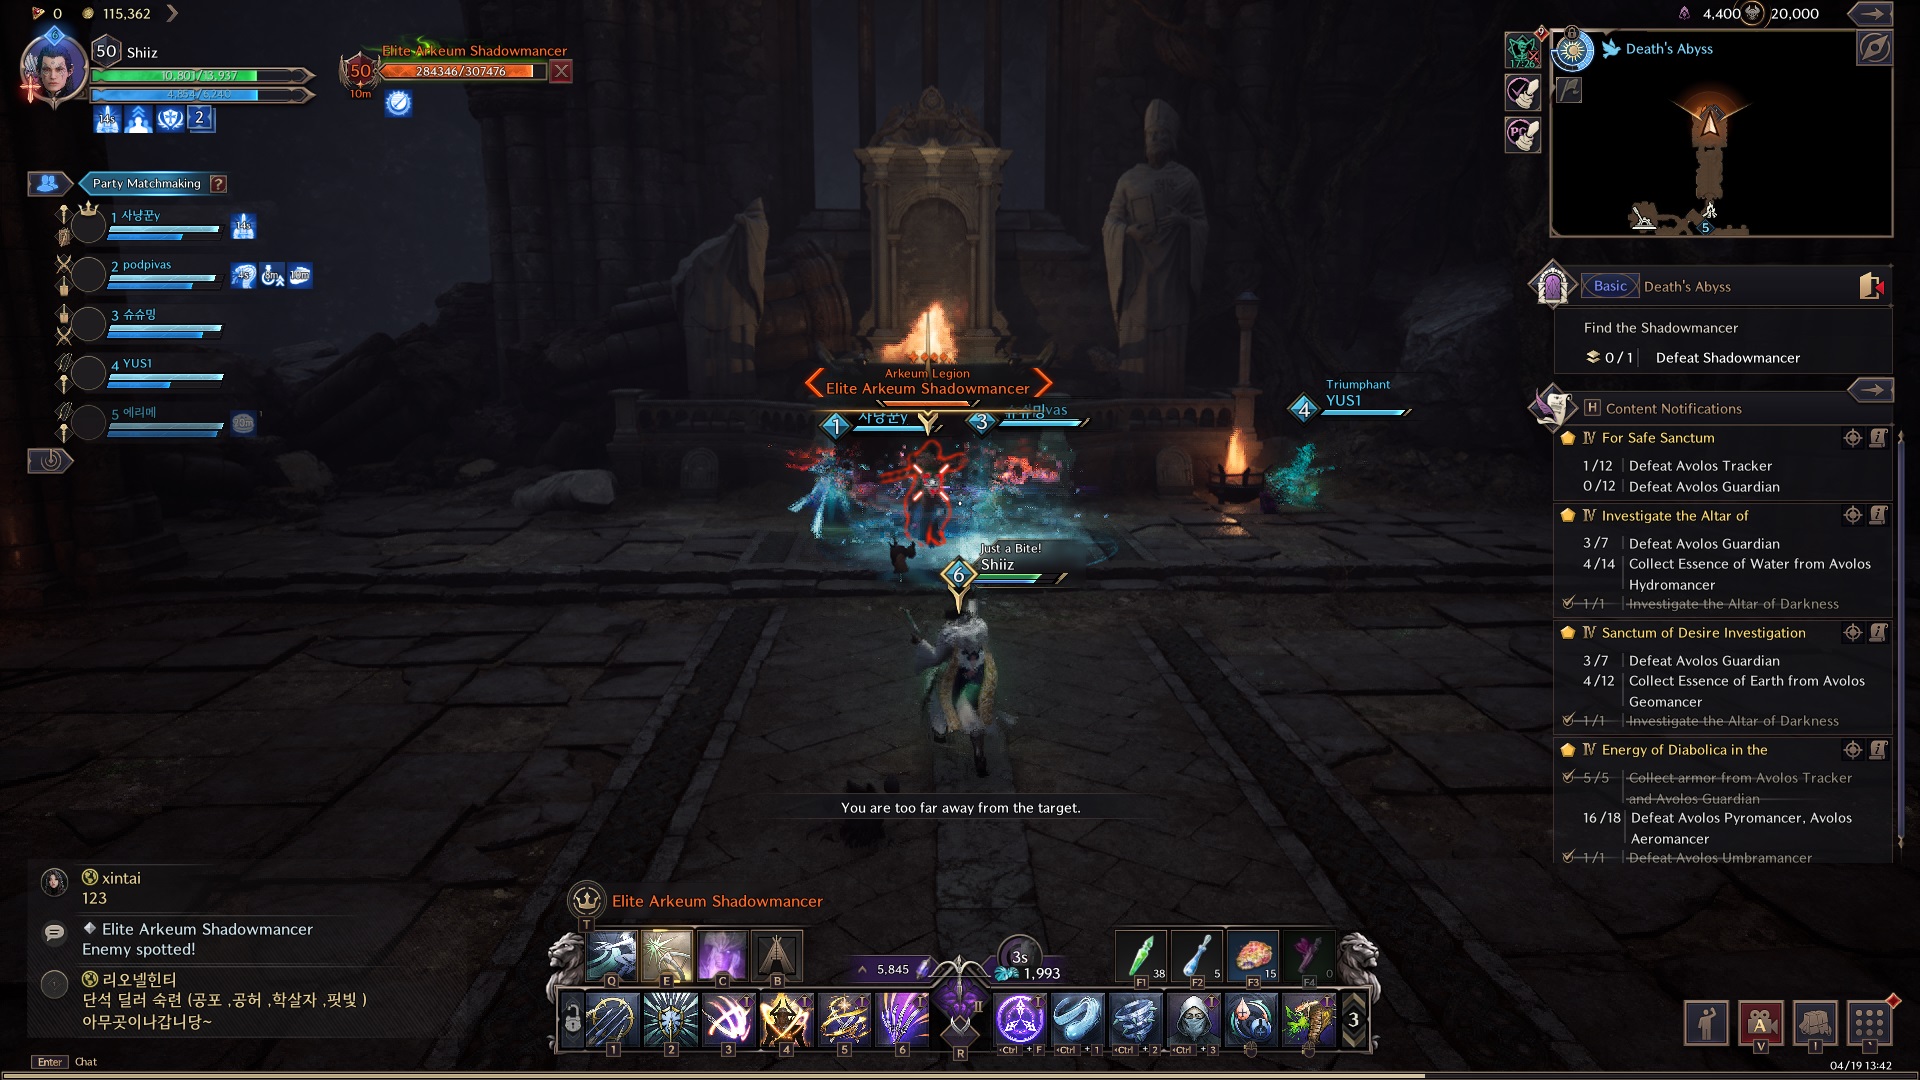
Elite Arkeum Shadowmancer - 1st miniboss
For this miniboss, having your CC ready is also crucial. The most important mechanic of the boss, is the "chokehold" spell. The boss will lift up 3 people in the air, and if the boss is NOT cc'd during this stance, the 3 people will immidietaly die.
