Molten Furnace
Introduction
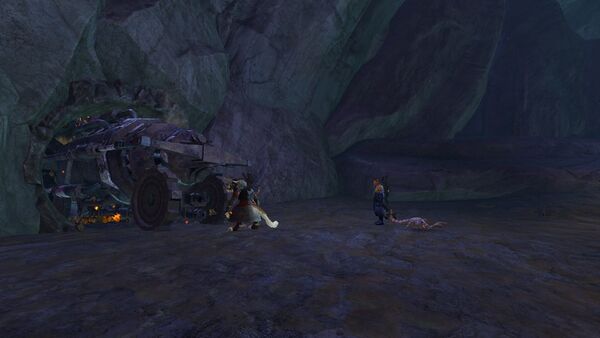
You begin close to Rox and Braham as they work to get a drilling machine working. Activate the nearby Mistlock Singularity and approach them.
As the machine activates, the Molten Alliance ambushes you. The ambush consists of a handful of veterans, followed by an Elite Molten Brawler. Once they are defeated, you can access the tunnel made by the machine.
Note that this guide is predominantly for the tier-four version of the fractal, so some mechanics will be much less dangerous at other tiers. An effort has been made to indicate where entirely new mechanics are added at higher tiers, but it is not exhaustive.
Recommended Sigils: and
Recommended Enhancement:
Condition builds should use their standard sigils and enhancements.
Recommended Utility:
| Notable Instabilities | |
|---|---|
| The extra boon duration means that the party’s boon supports can run more offensive gear/traits. | |
| The movement reduction can make it very difficult to move out of the way of the environmental hazards in the final encounter once you start taking damage, requiring you to rely more on dodging than movement to avoid getting hit. | |
| Be wary of other players shoving you into the environmental hazards in the final encounter. | |
The Caverns
Recommended Sigils: and
Recommended Enhancement: or
Condition builds should use their standard sigils and enhancements.
Recommended Utility:
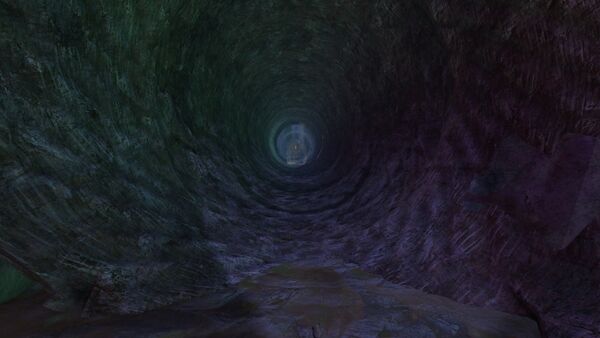
While the machine is drilling, the tunnel is unstable and there will be regular rockfalls, indicated by red-ring AoEs, that knock players down and deal a moderate amount of damage. You will find your way blocked by walls of steam at regular intervals. There is no way past them – walking into them will knock you back and deal half your maximum health as damage, and a player attempting to teleport past will be killed instantly (or downed if their ![]() Rigorous Certainty is still active).
Rigorous Certainty is still active).
In order to get past these walls, you will need to head into the small caverns that adjoin the tunnel, each containing a random set of enemies. Once they are defeated, a Blocked Vent will become targetable, and once destroyed, the steam wall will be removed and you can continue onwards. Expect to face bats, devourers, elementals, murellows, oozes, trolls and spiders.
There is another Molten Alliance ambush awaiting you at the end of the tunnel. There are a large number of enemies, but you’ll eventually beat them all and can move on to find your way blocked by another set of steam walls.
Fortunately, there are ways to bypass these ones. There are three walls, and you can walk through all three with ![]() Stability, though you will take half your maximum health as damage, so be careful. You can also safely teleport past, and the second and third walls can be dealt with by facing away and dodging backwards into them (but you will still take the damage). Alternatively, the walls will temporarily disappear at regular intervals so you can just be patient and move through when they’re down. The first wall cannot be bypassed until after Rox has moved up so there will be a period of waiting.
Stability, though you will take half your maximum health as damage, so be careful. You can also safely teleport past, and the second and third walls can be dealt with by facing away and dodging backwards into them (but you will still take the damage). Alternatively, the walls will temporarily disappear at regular intervals so you can just be patient and move through when they’re down. The first wall cannot be bypassed until after Rox has moved up so there will be a period of waiting.
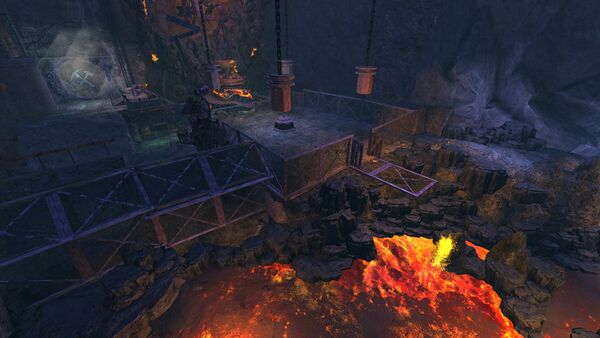
Past the walls, you will find yourself on a platform overlooking a testing chamber. Make your way down, picking up the Mistlock Singularity on the way, and head through the gates when you're ready. It will take some time before any fighting begins, so prebuffing is of minimal use.
Testing Chamber
Recommended Sigils: and
Recommended Enhancement:
Condition builds should use their standard sigils and enhancements.
Recommended Utility: Reflects and ![]() Stability
Stability
Once inside the chamber, you will be subjugated to a good taunting from the dredge in charge, then the test will commence!
First, the dredge weapon will begin launching fireballs that cover a large area of the platform, applying ![]() Agony at the initial impact and leaving behind fields that pulse
Agony at the initial impact and leaving behind fields that pulse ![]() Burning. The fireballs are projectiles and so projectile defense will be useful. At the same time, a Protector Sentinel Suit and a Nimble Sentinel Suit will spawn and fixate on the closest player. If the two suits are allowed to get close to one another, they will gain the
Burning. The fireballs are projectiles and so projectile defense will be useful. At the same time, a Protector Sentinel Suit and a Nimble Sentinel Suit will spawn and fixate on the closest player. If the two suits are allowed to get close to one another, they will gain the ![]() Sentinel Retribution buff that damages any player that hits them. It is recommended that one player kites one of the suits while the rest of the group deals with the other one, but with enough healing you could just pull them together and heal through the retribution. The suits have some basic attacks, and after a little while they will gain a defiance bar and begin firing out Core Coolant AoEs that deal a moderate amount of damage. Destroy the suit while avoiding the fireballs, and the next phase will begin. The Sentinel Suits will reapply their fixation after 20 seconds.
Sentinel Retribution buff that damages any player that hits them. It is recommended that one player kites one of the suits while the rest of the group deals with the other one, but with enough healing you could just pull them together and heal through the retribution. The suits have some basic attacks, and after a little while they will gain a defiance bar and begin firing out Core Coolant AoEs that deal a moderate amount of damage. Destroy the suit while avoiding the fireballs, and the next phase will begin. The Sentinel Suits will reapply their fixation after 20 seconds.
Four Veteran Molten Shamans will spawn around the central core and attack. A few seconds later, the core itself will become vulnerable and begin venting flame. These flame vents start on the west side, then vent each side in turn, going anticlockwise. You can stand at one of the corners in order to melee the core while remaining safe from the vents. The thermal core will stop taking damage when it gets to around 60% health, and any remaining shamans will despawn so it is recommended to focus damage on the core if you can. Shortly after the core becomes vulnerable, large weights hanging above the test chamber will begin to slam down, creating shockwaves that ![]() Knockdown players and apply
Knockdown players and apply ![]() Agony if they are hit by them. The shockwaves can be jumped, and the weights land in the order: southeast → northwest → southwest → northeast, then repeat.
Agony if they are hit by them. The shockwaves can be jumped, and the weights land in the order: southeast → northwest → southwest → northeast, then repeat.
After the core closes, another two Sentinel Suits will appear that function the same as before. This time, fire tornadoes will appear along the side of the arena and rush across, ![]() Launching players back and inflicting
Launching players back and inflicting ![]() Burning and
Burning and ![]() Agony. They can be evaded or ignored with
Agony. They can be evaded or ignored with ![]() Stability. In order, the tornadoes come from: east → south → west → south, then repeat.
Stability. In order, the tornadoes come from: east → south → west → south, then repeat.
After the Suits die, more shamans will spawn, the core will become vulnerable and the burn phase will repeat exactly as before.
At around 40% health, the remaining shamans will retreat but the core will remain vulnerable. The weapon begins to fire everything it has at you, all at once (fireballs, weights, and fire tornadoes). Avoid these attacks as best you can, and continue attacking the core until it is destroyed.
Champion Weapons Test Engineer
Once the core explodes, the dredge Engineer joins the fight himself along with another pair of Sentinel Suits. The Engineer will also gain ![]() Sentinel Retribution if a Suit is too close, so it will probably be worth dealing with them first. The main attack to watch out for from the Engineer is a charged Flame Vortex that launches out fire tornadoes that deal heavy damage in addition to
Sentinel Retribution if a Suit is too close, so it will probably be worth dealing with them first. The main attack to watch out for from the Engineer is a charged Flame Vortex that launches out fire tornadoes that deal heavy damage in addition to ![]() Launching players and applying
Launching players and applying ![]() Agony and
Agony and ![]() Burning. The Engineer will glow red as they prepare to fire it, and will not move, so the attack can be sidestepped.
Burning. The Engineer will glow red as they prepare to fire it, and will not move, so the attack can be sidestepped.
At 75% health, the Engineer will burrow into the ground, dealing very heavy damage, ![]() Bleeding and
Bleeding and ![]() Cripple to anyone who remains in the area with , and will then move to one of the four sides of the chamber and resume his attack. The side they move to can be the same one that they start at, and you can track their movement via a small trail of dust. Up to three Veteran Molten Shamans (depending on tier) will appear at the other three sides. The Engineer will repeat this every 25% health (and the shamans will burrow as well), but otherwise there are no additional mechanics.
Cripple to anyone who remains in the area with , and will then move to one of the four sides of the chamber and resume his attack. The side they move to can be the same one that they start at, and you can track their movement via a small trail of dust. Up to three Veteran Molten Shamans (depending on tier) will appear at the other three sides. The Engineer will repeat this every 25% health (and the shamans will burrow as well), but otherwise there are no additional mechanics.
Be aware that the Engineer will not move provided he has line of sight to you, and his basic ranged attack isn’t particularly threatening, so you can stand just outside of melee range and be safe from the majority of the damage.
Comments
Enjoy an ad-free experience & support the website, for only $1 per month! Upgrade to Premium


